
Do your projects get done before "company is coming"?
I had been thinking about this project for a while and managed
to get them done in 4 hours one evening before an informal get-together
at my house. Whew! (Thank goodness for deadlines!)
- Prewashed Drop Cloth Fabric
- Existing (Seen-Better-Days) Bamboo Blinds
- Hot Glue (!)
- Sewing Machine
- Measuring Tape (Only when absolutely necessary!)

- To make the shade:
- Check length and width by laying fabric over the existing blind;
- Cut (snip, then rip) to length and width;
- Hem bottom and sides - only if necessary!
it won't show in the end!)

- Using a scissors, snip the strings that hold the bamboo together. (Not the strings for the mechanism!)

- Then, glue the raw edge of the fabric blind to the slat with the existing hardware.
 |
| Raw top edge glued to slat with existing hardware. |
For the valance:
- Cut (snip, then rip) a length of fabric 8 inches tall.
- Check width (& height) by laying the strip on the blind;
- Cut to width and hem the sides & bottom (I left the raw edge at the top again.)
- Place your valance, making sure one string is in front and one is in back (& that they're not tangled!)...and glue to existing slat.

The picture below shows the "right-side" facing us,
with the valance ready to be glued to the slat.

- Wrap the valance around so the raw edges face the wall/back of the blind.

- Cut a slit for hardware and glue around the eye.
(BTW, those really are original gold-flecked counters! :)
They have been very good to me!)

I used the existing hook and eye hardware to hang the blinds.
(I was on a major time-crunch people!)
You could also hang these with "L-brackets".
Then, roll from the bottom and re-hang. (Or rehang and roll.)

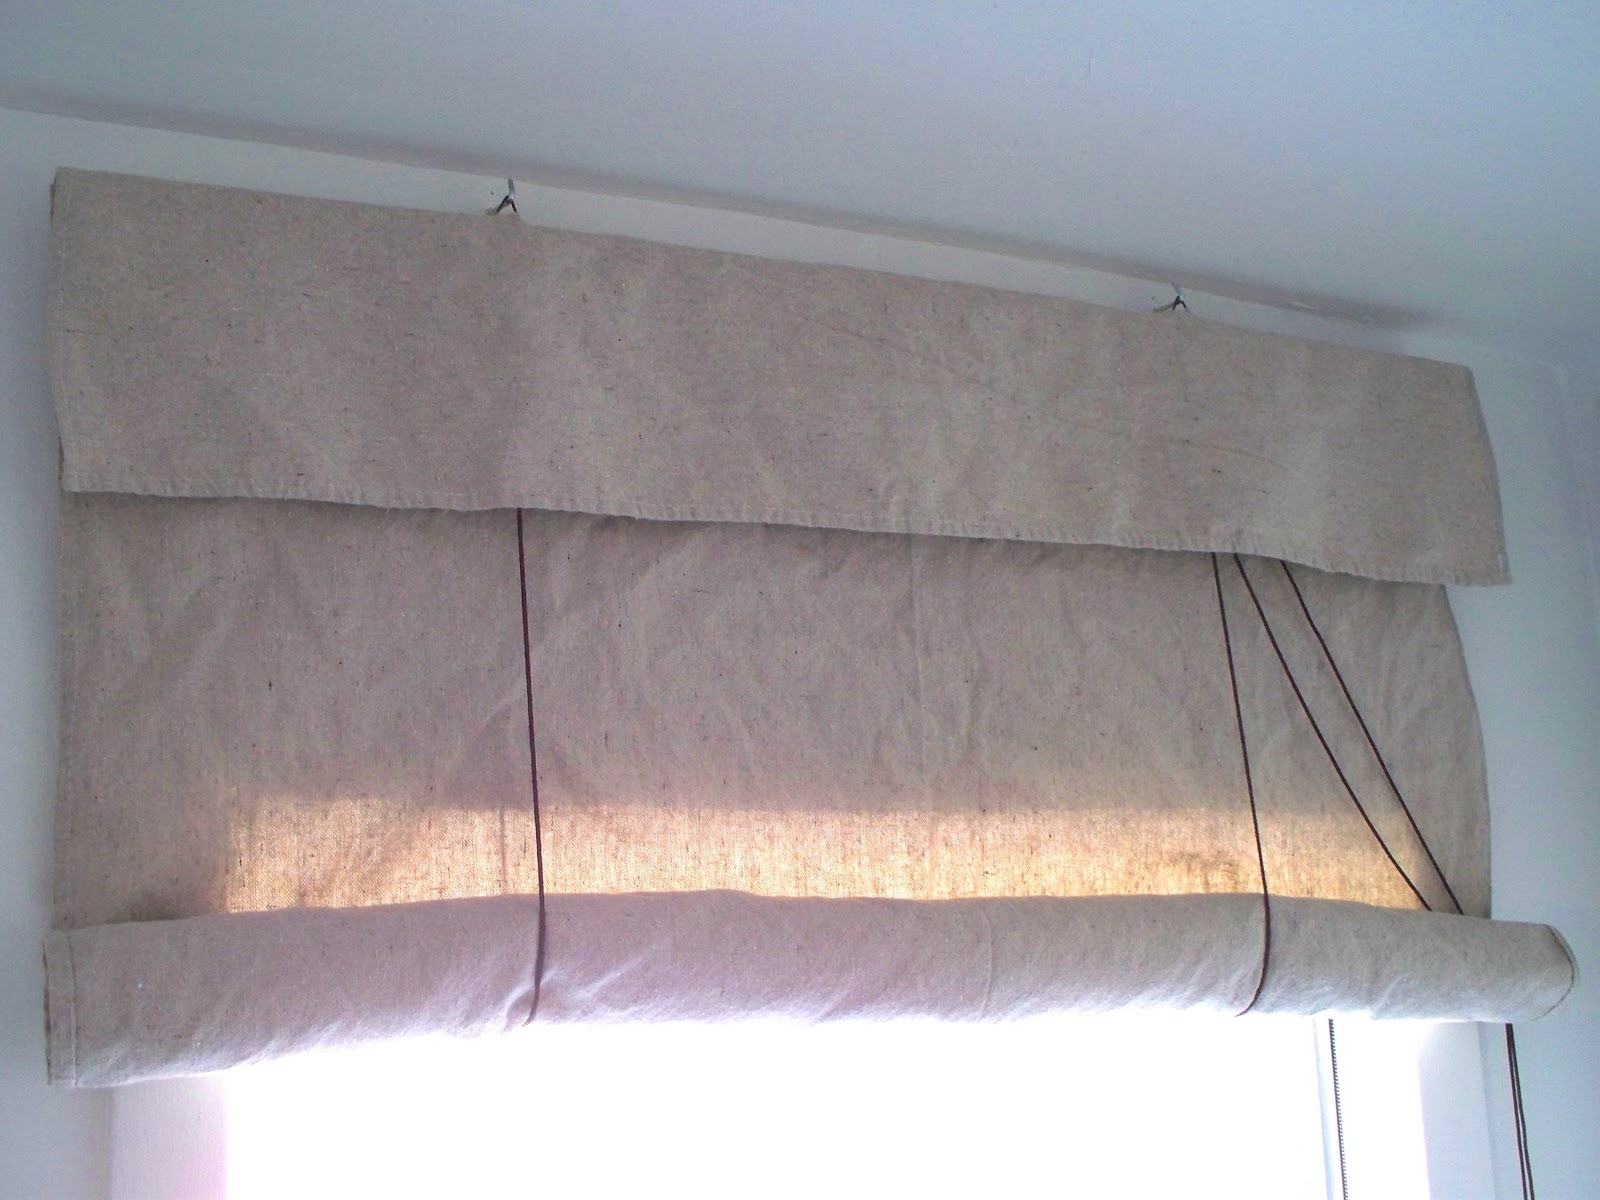
I choose to hang the blinds with the "right-side" of the fabric facing the room, so when rolled up, the raw edge of the "wrong-side" hem shows just a smidge. I liked that informal detail.

What I love about my remade blinds:
1. They don't completely block out the light.
2. They block the sun.
(East-facing windows + breakfast at the table + bamboo blinds = grumpy breakfasts)
3. They're an inexpensive "still functional fix" - I used 2 drop cloths at $10 each.

What I wish I had done (Learn From My Hastiness):
1. Purchased the dowels sooner- the sagging below is "charming" until you try to actually use try the blinds!

2. Found this tutorial sooner - The rings and straps are such a cute/functional detail! (Although the additional sewing would have added to my time! :)
3. Been brave enough to pick a splendid color, floral, or print fabric.
(Though picking a paint color is difficult enough!) :)
(Though picking a paint color is difficult enough!) :)


Yeah there is nothing like company coming to get me up and moving too! The blinds look good, I would never have thought of this. It is good to recycle when we can anyway.
ReplyDeleteThey looks great! I also love your dining chairs.
ReplyDeleteLove them, great tutorial!!! Love the sun in the bamboo ones too, but then again I like the soft look to the other ones!!!
ReplyDeleteThanks for the encouragement, everyone!
ReplyDeletelooks great. I LOVE that buffet in the photo! awesome piece
ReplyDeleteAre you kidding me? Sometimes I schedule company just to pressure myself to get things done!
ReplyDeleteI too love the buffet!
What a great way to used the bamboo blinds to make that. Great tutorial. Thanks for stopping by. I have a party tonight you can join if you like.
ReplyDelete