
I'm going back to the holidays for just a bit to share this recipe with you. Last week, on her "Star Student" pages, my daughter listed caramel as her favorite food. So, we mixed this recipe up and took some to her class. They were a hit!

Melting and mixing these ingredients together will equal pure joy!


Wrap, roll, twist. You can buy pretty wrappers to make the caramels look festive, or go old school and cut your own. We cut our own wrappers, cause we're classy that way!


Here's the recipe:
Microwave Caramels
I love this recipe! It’s “mix-and-heat-easy”; No need to use a thermometer & while the caramel bubbles away in the microwave, I can clean up the kitchen or craft beautiful homemade cards with my sweet-tempered, talented and polite children. :) It’s that gooood!
GATHER:
1 Cup Butter (You can use 1 stick butter, 1 stick margarine… I use butter & butter.)
1 Cup Light Karo syrup
2-1/4 Cup Brown Sugar
1 Can Sweetened Condensed Milk
Dash of Salt
1 teaspoon Vanilla
3 or 4-quart Pyrex type pitcher or bowl (You’ll be microwaving it A LOT)
10x7 pan, lightly greased
MELT, MIX, COOL, CUT, WRAP, the details:
1. Melt butter in pitcher.
2. Blend syrup, sugar, condensed milk, and salt.
3. Cover with plastic wrap & microwave on HIGH for 9-10 minutes (start with 9!).
4. Remove and stir well.
(You can carefully (It’s HOT!) do a taste test – the mixture will have some sugary “grit” in it that you can both see and taste. At the end of the next step, the “grit” texture should be gone.)
5. Reset the Microwave to 70% (Med-High). Put mixture in, uncovered, for 15-18 minutes.
(If the ingredients are still “separated”, put in for another 30 seconds. *)
*Here's where your instinct comes in! At about 7-10 minutes, pull it out & give it a good, quick stir. If left too long in my microwave, without stirring on this step, the individual sugar granules tend to burn or scorch bit-you'll know because you'll see some dark spots. (It’ll get eaten, though!) Also, and sorry if this seems obvious, it should look like caramel after this step. If a bit, cooled on the spatula, does not bead up, the caramel will be very sticky, though still not hard to eat! If I stop it cooking too soon, and the caramel is soft, I simply keep that batch in the refrigerator.
6. Mix in vanilla.
(Even if you have to pour the caramel back into a bowl, clean your
pan and grease it again, the vanilla is worth remembering!)
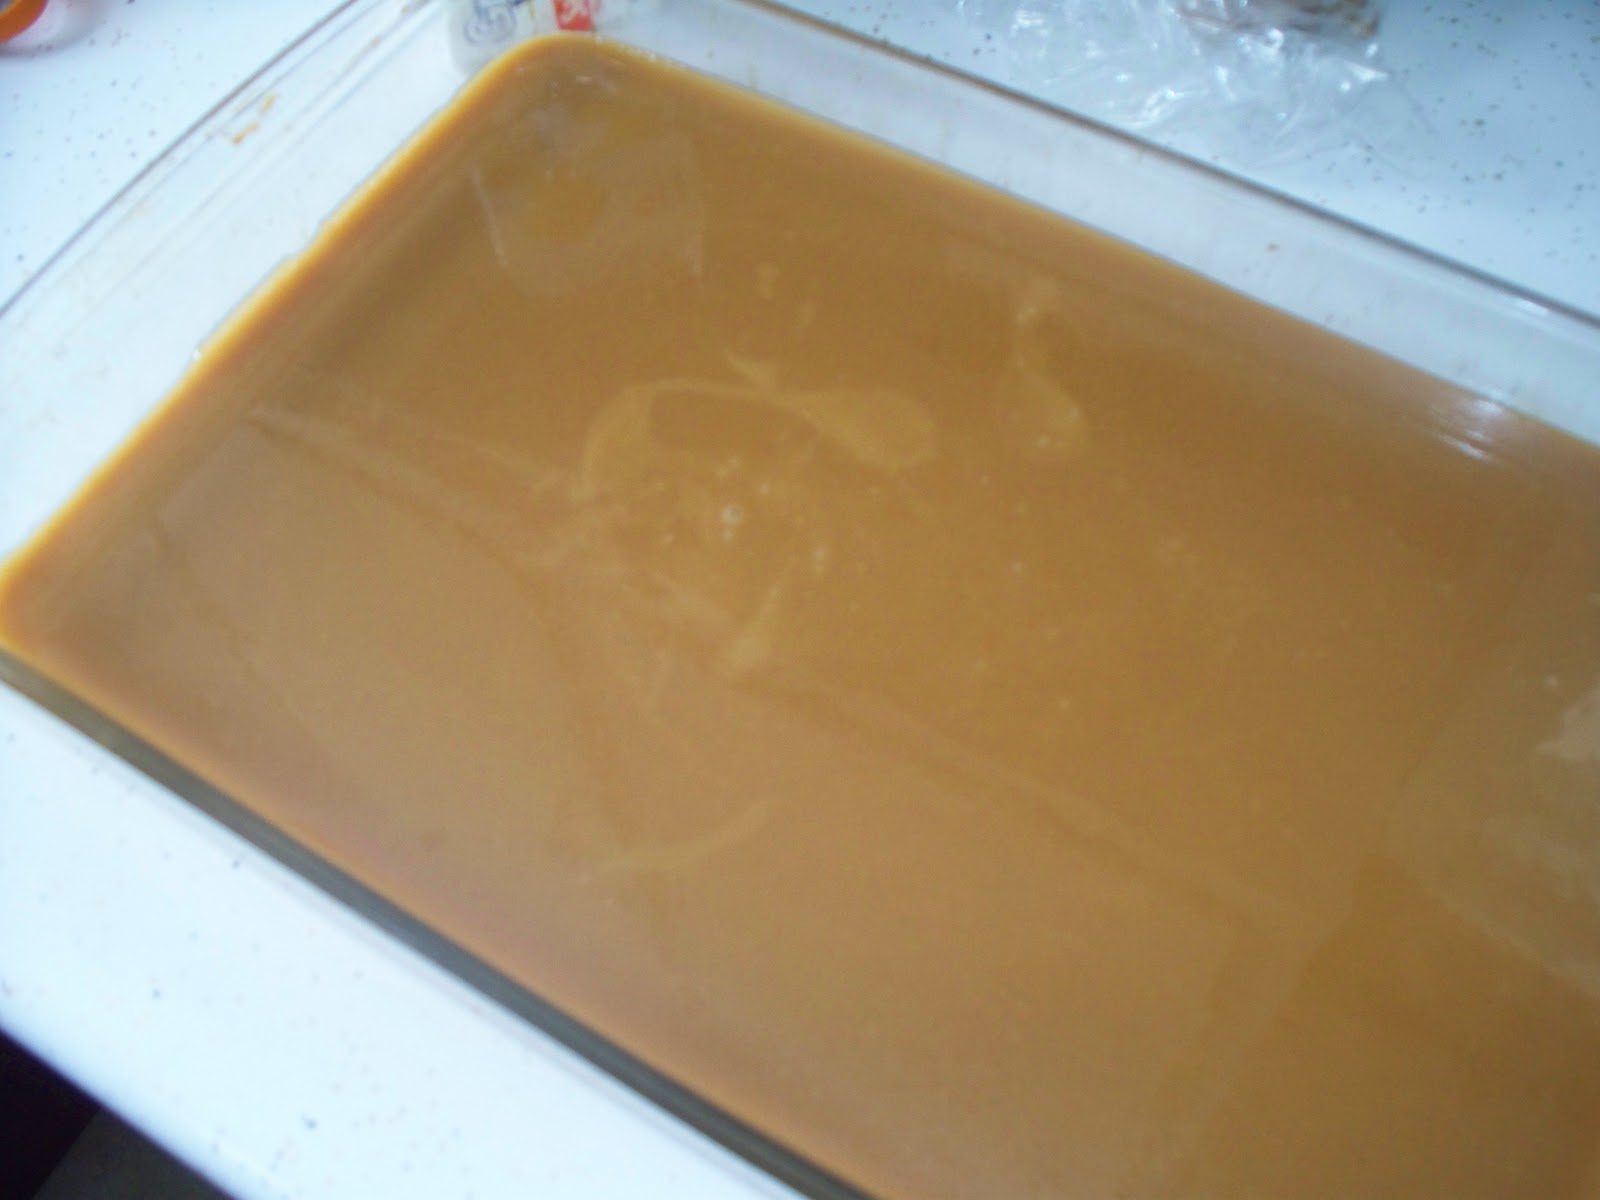
7. Pour in pan & cool.
Warning: At this stage this recipe is HIGHLY addictive (and seriously hot!) keep out of reach of any snitchers!
8. When cool, cut into desired pieces & wrap with waxed paper.
Use a spatula to lift it out of the pan and cut with a kitchen scissors, or knife.
Wrap in wax paper wrappers.
Last time we counted, after snitching the "bad ends", we wrapped 85 caramels from one recipe.
ENJOY alone or share!


I must try these soon! I am a new follower!
ReplyDeleteWelcome Sara! Thanks for following!
ReplyDelete